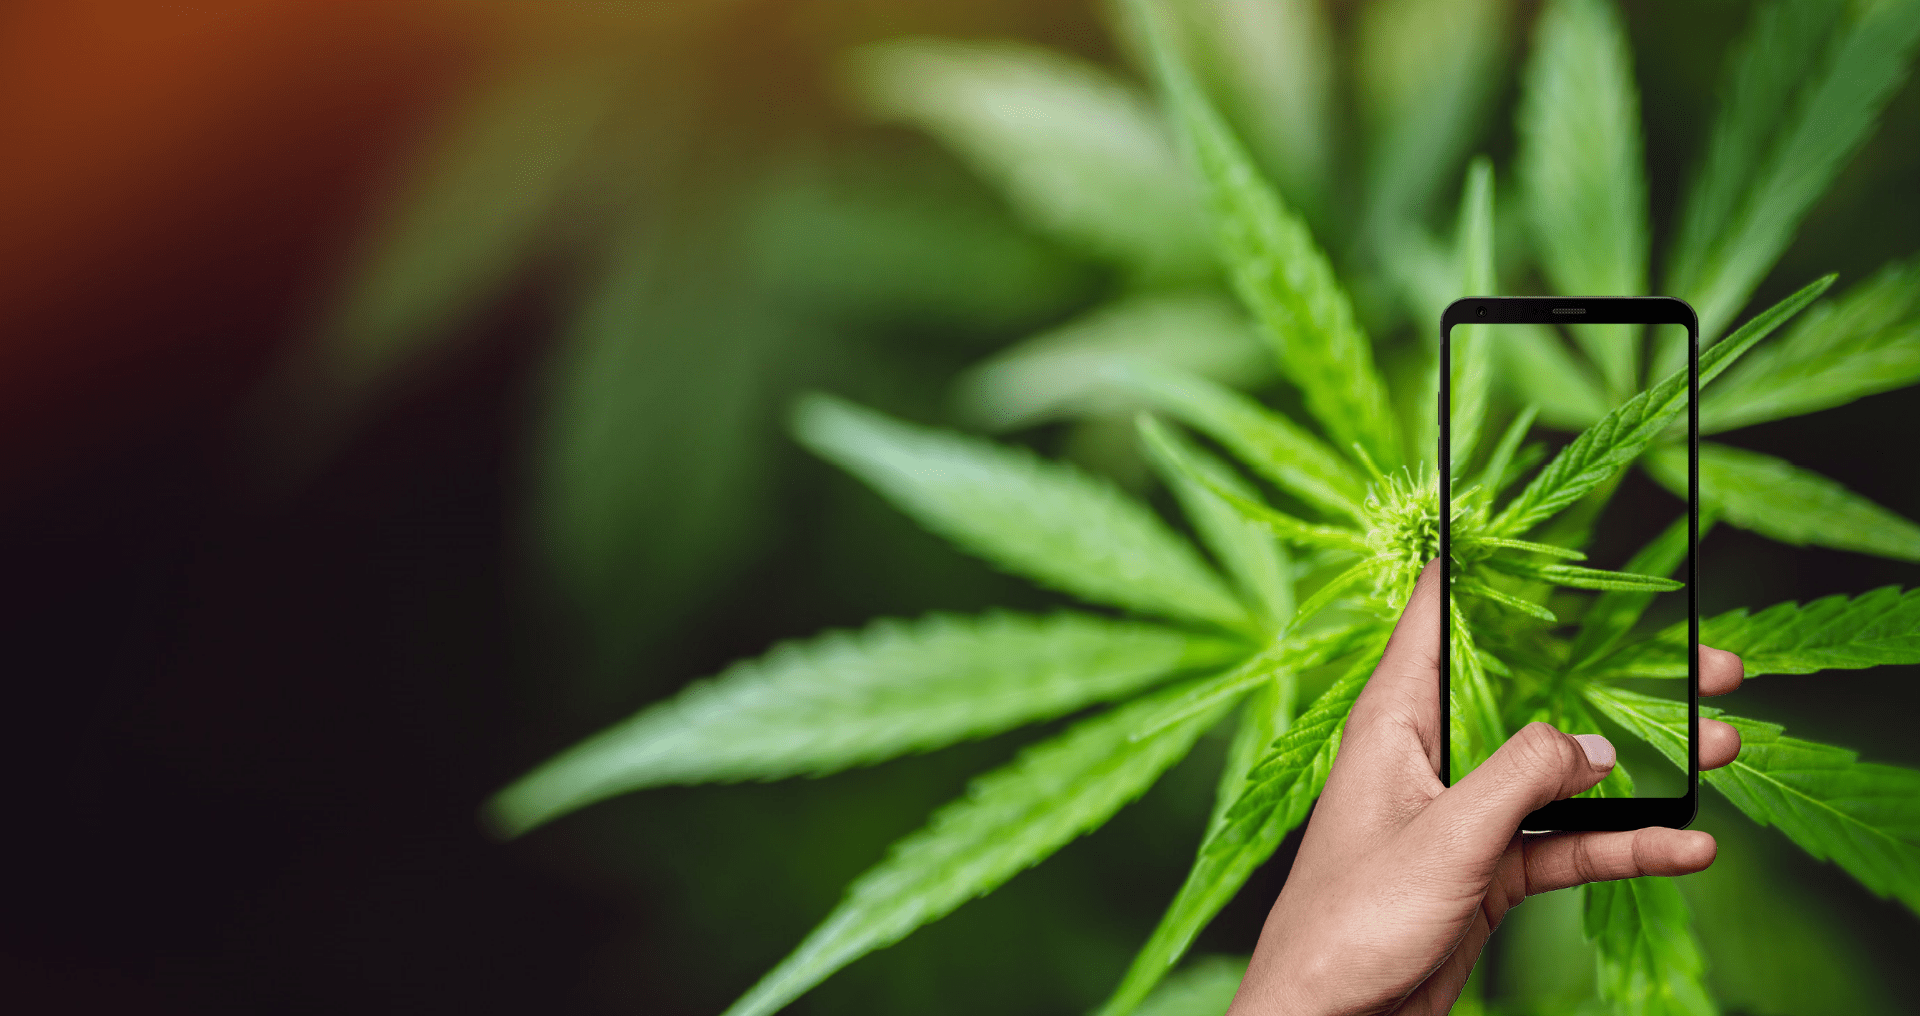
Cannabis Nutrient Deficiencies? Pests? Diseases?
An easier and faster way to diagnose your cannabis plants when symptoms first appear!


An easier and faster way to diagnose your cannabis plants when symptoms first appear!
by Kenny | Jul 04, 2024
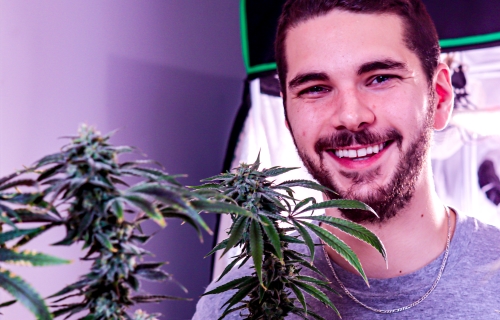
Hey guys, it’s Kenneth from GrowDoc. Kieran and I put our heads together to create a little guide for home growers to be able to properly harvest, trim, and cure your cannabis the right way, so when it comes time to enjoy the fruits of your labor it’s as smooth and potent as it can be.
We are in the process of trimming and curing our FPOG x Zkittlez strain as I write this and used it to make a video that goes along with this blog post. We are super excited for it to be cured and ready to smoke, but in the meantime check out the rest of this article and go click on the video while you’re at it! At Home Growing, Harvesting, Trimming, and Curing Your Weed
Here is a list of tools that you will want to have to perform all the tasks listed below. More than likely if you are a grower you will already have 90% of the items listed!
Tools
You’ve been growing your lovely lady for months now and you think it's about time to harvest, but you’re not quite sure how to know for sure. There are some go-to methods that you can use to know for sure when the best time to start harvesting is to get the highest THC, terpiest weed you can.
“Use the producers flowering time as a guide, but also check the trichomes with a jewelers loup, if they are milky/milky amber your plant is ready to be harvested,”
First of all, you want to harvest based on the recommended flowering time the producer of the seeds gives you. For instance, you can see here that 34 Street Seed Co. gives a recommended flowering duration of 9 weeks. We would definitely recommend heeding this information, but if for whatever reason you didn’t keep track of when your flowering started or you just want to experiment there is another way to see if you are ready to harvest.
The second way to make sure you are ready to harvest is to check the trichomes with a jewlers loupe or a microscope. The trichomes start off clear, changing to a milky or cloudy state as they mature, and finally, they will turn amber when they are fully matured. It’s recommended that you harvest when the trichomes are cloudy or cloudy/amber. In this state, it indicates that cannabis is mature enough and will be a balanced smoke. The more cloudy or amber a trichome, the more sleepy and Indica dominant the smoke will be, generally speaking. So if you want to mess around with things you can try harvesting younger when the trichomes are less mature and more Sativa in profile, or you can conversely wait longer while the trichomes mature and become more amber in colour, producing a more Indica like high.
While it’s great to check and use the producer's recommended flowering times as a guide, we definitely always recommend checking the trichomes to make sure you are on the money!
Flushing is what growers call ridding a cannabis plant of most residual nutrients. This achieves a tastier, cleaner smoke by letting your cannabis plant take in any residual nutrients and getting ridding any harsh nutrients from the flower that you would otherwise smoke.
“Use PH’ed water without any added nutrients for one to two weeks in soil and one to three days in hydroponics. You also want to have complete darkness for 24-72 hours before harvest to boost THC.”
So what you do to flush is just give your plants clean PH’ed water. No nutrients. Typically in soil, you want to flush for one to two weeks, in hydroponics, you want to flush much less at around one to three days. This latest flush we only did for 2 days because the roots are directly in the water and we didn’t want the plant to become underfed before harvest.
Something you don’t want to forget is to keep your lights off 24 hours before harvest. This is done to boost THC. Both flushing and lights out 24-72 hours before harvest have their supporters and detractors. We do both because we get great results employing both methods, but we encourage you to give them a try and see what works for you!
Harvesting your weed is the act of chopping your plant’s stems and drying them. There are a lot of ways that you can achieve this but however you plan on doing it your chopped branches and flower will need to begin drying as soon as possible.
In the drying stage, you want to have a humidity of around 50% and a temperature of around 20 degrees. You do not want to be drying and growing in the same environment.
For drying you can put your chopped plant in brown bags, have a drying rack, but the way that we like to do it at home is to use some rope string and clothespins and dry in the same tent that we grew in! At this point, you also want to have made sure that the bigger fan leaves have been trimmed off of the plant. This process should take about 3-7 days and the outside of the flower should be dry.
“Drying cannabis should be done in an environment with around 50% humidity and around 20 degrees. This should take 3-7 days to complete.”
Some tips to keep in mind are to keep your drying area as clean as possible and keep an indirect airflow circulating in your drying tent/area to prevent mold.
Tip: Something to keep in mind is to always sterilize your trimmers before use and wash your hands. This helps cut down on the chance of spreading viruses, diseases, and pests to multiple plants.
Trimming is a dreaded time for cannabis growers. It is time-consuming and monotonous but it is well worth it. This is where you manicure the buds of unwanted stems and leaves to make a great smoking flower.
Trimming is easily done with a few tools, some you might want to have are some rubber gloves to keep your hands from getting too sticky, a multi-layered trim bin for catching all the trichomes that fall off, and obviously a pair of trimming scissors.
While trimming you want to make sure to get rid of only leaf stems and leaves only. Protecting the bud site should be the #1 priority. As a home grower, it’s nice to sit down and be able to spend extra time trimming your buds to perfection, but if you are short on time you really don’t have to worry about getting everything perfect.
Lucky for you curing is probably the easiest part of the whole growing process. Curing is going to let your buds reach optimal moisture levels while letting the bud get as potent as possible. You want to make sure humidity while curing is around 60%. This can easily be done by placing humidity packs into the jars.
You want your jars to be about 65-85% full and what works best is either mason jars or any other large glass container. You want to make sure to “burp” your curing cannabis once a day for at least a few minutes. Along with burping your weed you also want to move it around a little to make sure every bud is getting the fresh air it deserves. You can cure anywhere from a couple of weeks to a few months.
Growing is the hard part, harvesting, drying, trimming, and curing are all pretty straightforward. I hope that this article helped you out and keep an eye out for our next blog and while your waiting you can check out our YouTube channel in the link below for more helpful and entertaining cannabis content.
https://www.youtube.com/channel/UCiGEjqTrMrOz1FDqe9S1dLQ

.png)